Running CS6 on an off-list Nvidia card

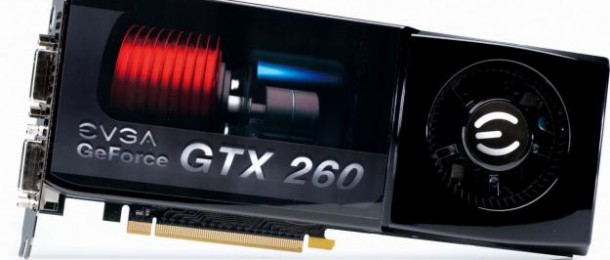
So…I made the jump to the CS6 Master Collection, and the discs have been sitting on my desk for the past couple of weeks. I didn’t have the courage to install it all, then see how poor the performance might be on my aging quad-core with only 8GB of RAM, and an Nvidia GeForce GTX 260 that fell just short of the Adobe list, even though it had the 896MB of video RAM required to run the minimum spec for the Mercury Engine. So I started reading, and ended up at Studio 1 Productions. These guys have done an exhaustive test program, and come up with a way to make many of the off-list Nvidia cards work.
The first step is to run a file called “GPUSniffer.exe” in DOS mode (found in several places on your system – mine was in the Adobe folder where my software lives), which goes under the hood and finds the specs of your graphics card. The important thing to write down is the name of the card. For me, it was “GeForce GTX 260”, with the spaces included – it has to be the system card name. Then it was a simple matter to go to the Premiere Pro root directory – where the “Adobe Premiere Pro.exe” file lives, then open the file called “cuda_supported_cards.txt”. This is where Adobe puts its’ list of supported cards – nice of them to make it editable, don’t you think? After adding the system name (case-sensitive, by the way) to the list, you save it. When you next run Premiere Pro CS6, you will find that under the Project tab, Project Settings, General, there is now the option to use Mercury Playback Engine GPU Acceleration, in addition to the Software Only choice, which was the greyed out choice before you made the hack. By the way, before you do the above, make sure you have downloaded and installed the very latest Nvidia drivers for your particular card. The link will automatically scan for your card, and find your drivers, if you need them updated.
By the way, if you want to use the After Effects CS6 raytrace 3D option (which you know you do), there’s a similar process to enable your card, although the file which gets hacked in this case is called “raytracer_supported_cards.txt”. You can find a step-by-step for this hack on the Studio 1 site as well. I think I covered everything you need in the above, but read through the exhaustive details on the Studio 1 site, just to make sure. By the way…it seems to have sped things up considerably in both Premiere Pro, and the After Effects 3D render, but I’ve got some testing ahead of me. Happy Hacking!